Create an immutable table
Permanently freeze a table's data by sending it to the dead address.
Tables are ownable assets (NFTs). If the data in a table should no longer be changed, the table's owner still has the ultimate admin control and could choose to adjust any access rules and mutate the data. To guarantee table data is permanently frozen, you can "burn" a table by sending it to the dead address, thus, transferring ownership and preventing the table's data to ever change.
Overview
Upon transferring a TABLE to another address, the new owner has full ownership and permissions to mutate or otherwise control the table, including the ability to set up new access control rules. As a table owner, you may feel table data no longer needs to be mutated. But, if you continue to own the table or send it to another user, it's still possible for changes to be made to it.
If you want to "lock" access to the table so that no one can ever own that table again, you can "burn" the token. To burn a token is to permanently and irreversibly remove that token from circulation, and this can be done by transferring the token to 0x00...dead (the dead address).
This is great for things like immutable NFT metadata, for table versioning (i.e., freeze at point in time), or other scenarios where you need a permanent and guaranteed immutable reference to rows and columns of data.
The following walkthrough will send your table to the 0x00...dead address, so DO NOT transfer any tableId you wish to keep. Tableland has no way of retrieving a burned table; it will be immutable and forever owned by the dead address.
Using smart contracts calls
To burn a table, you have to call the TablelandTables registry contract's safeTransferFrom or transferFrom methods. Both of them take the same parameters:
tokenId: ID for a table that you want to make immutable.from: your address (the table's owner)to:0x000000000000000000000000000000000000dEaD
First, you'll have to install @tableland/evm.
- npm
- Yarn
- pnpm
npm install --save @tableland/evm
yarn add @tableland/evm
pnpm add @tableland/evm
You can then import and set up the interface into your contract. One option is to set up an interface with the registry by importing and instantiating ITablelandTables, along with the deployed contract's address. Namely, you'd create a state variable like ITablelandTables private _tableland and set it equal to ITablelandTables(address).
An easier approach is to use the TablelandDeployments library, which does this for you under the hood. All you must do is import it and call TablelandDeployments.get() to get the interface. Once the it's set up, you can then call any of the contract methods, including the transfer methods.
import "@tableland/evm/contracts/utils/TablelandDeployments.sol";
Once that's ready, all you have to do is call one of the methods and transfer the table. We'll use safeTransferFrom(address from, address to, uint256 tokenId) with an example tokenId of 1.
TablelandDeployments.get().safeTransferFrom(0xabcdef0123456789abcdef0123456789abcd1234, 0x000000000000000000000000000000000000dEaD, 1);
Note the address 0xabcdef0123456789abcdef0123456789abcd1234 should be updated to your address
Using Etherscan
Let’s assume you’ve created a table on Ethereum Sepolia. You can use Etherscan to interact with the Tableland registry contract and burn your table by transferring it.
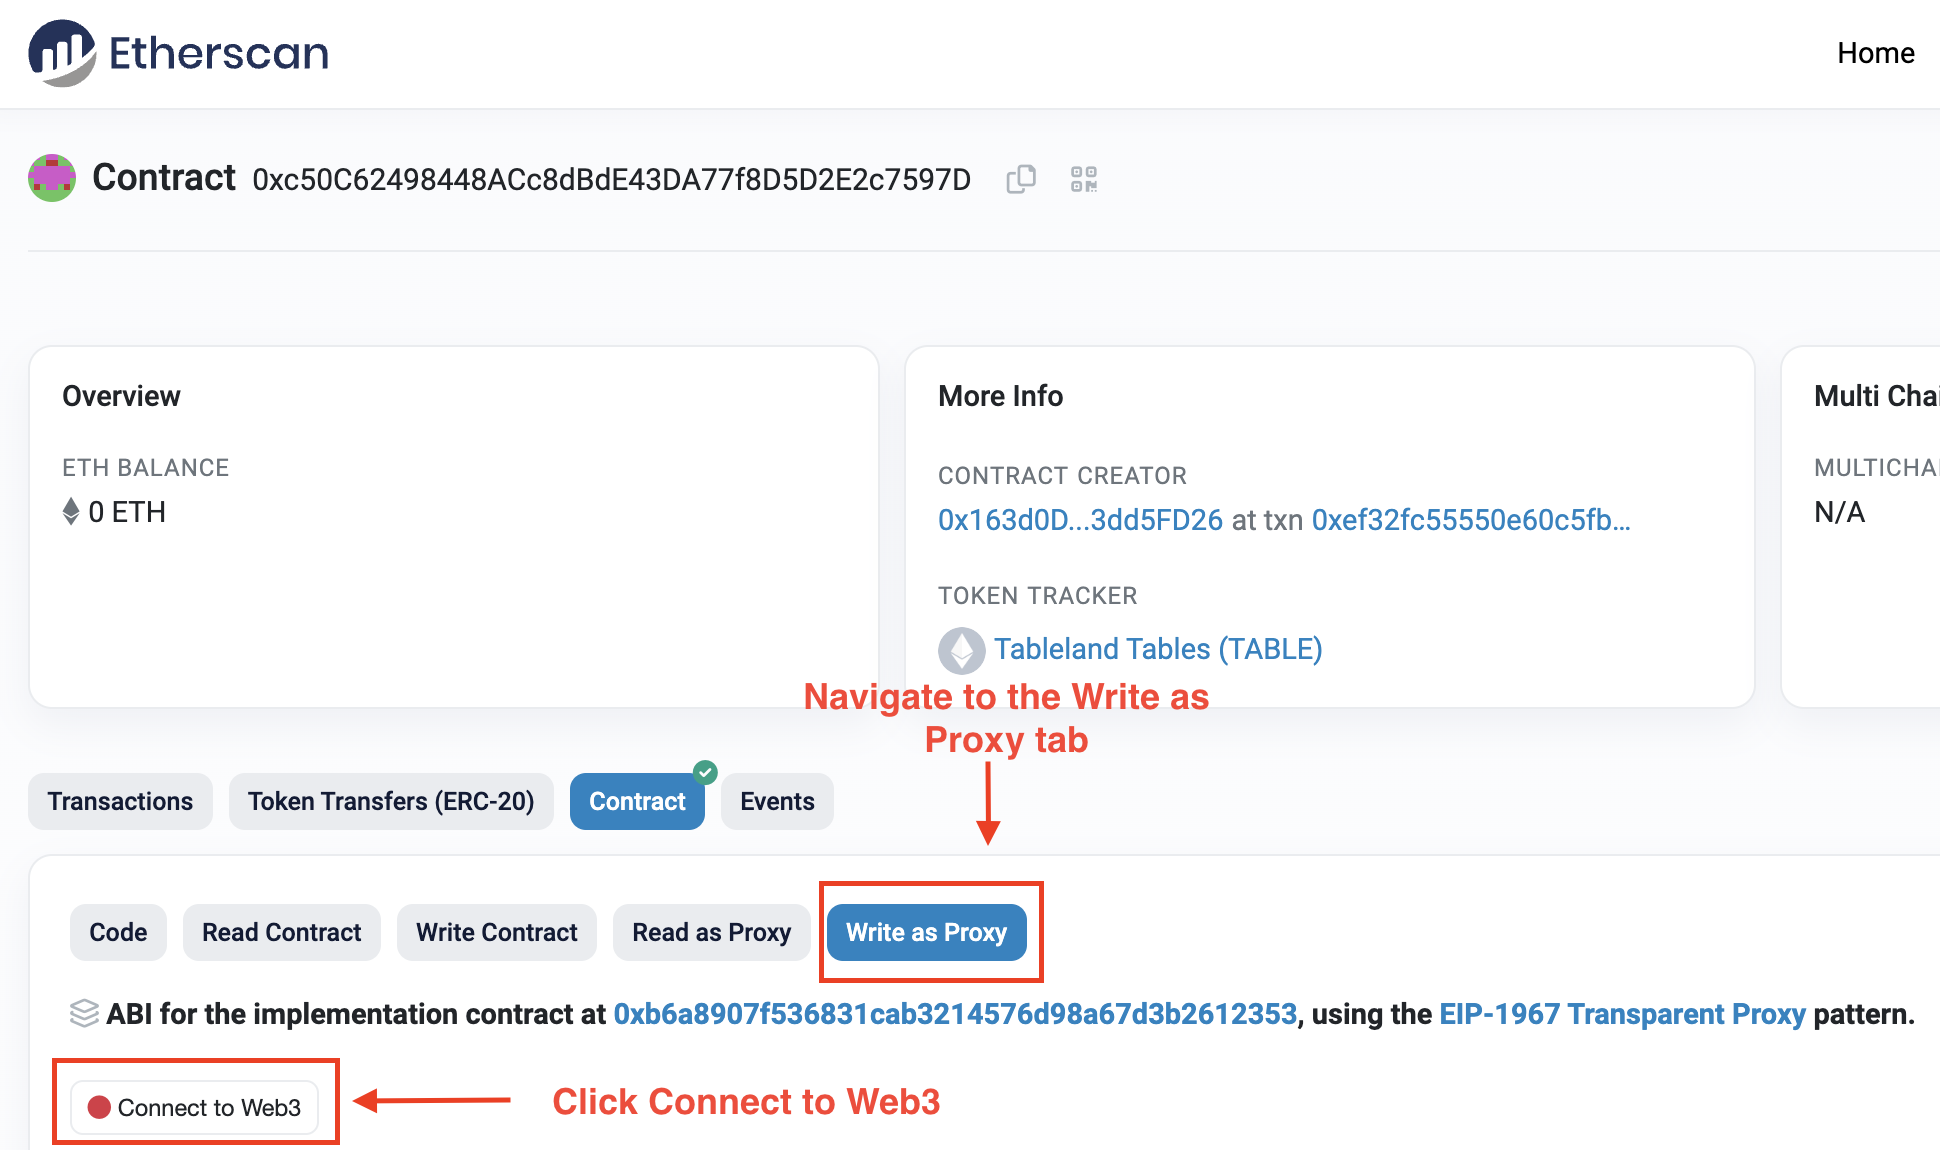
- Navigate to the registry contract on Etherscan Sepolia and click the Write as Proxy tab.
-
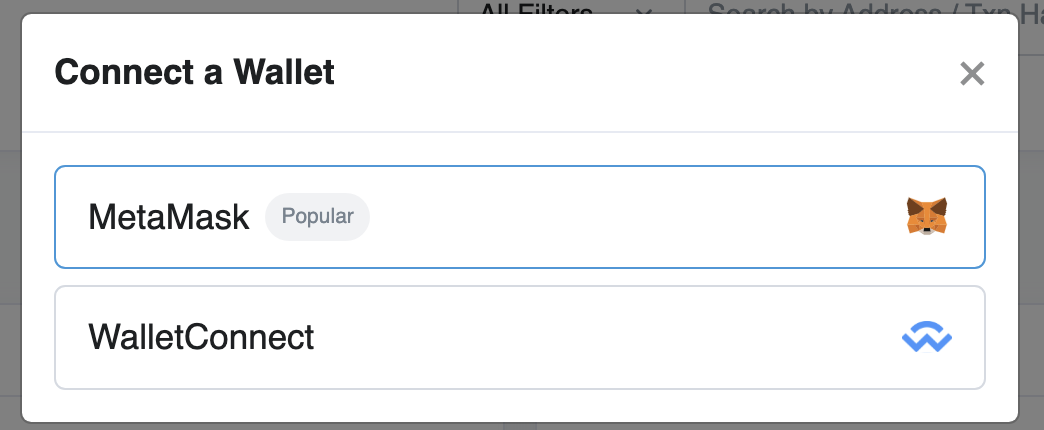
Click on Connect to Web3 to initiate the wallet connection flow.
-
Select the desired account and click Next.
-
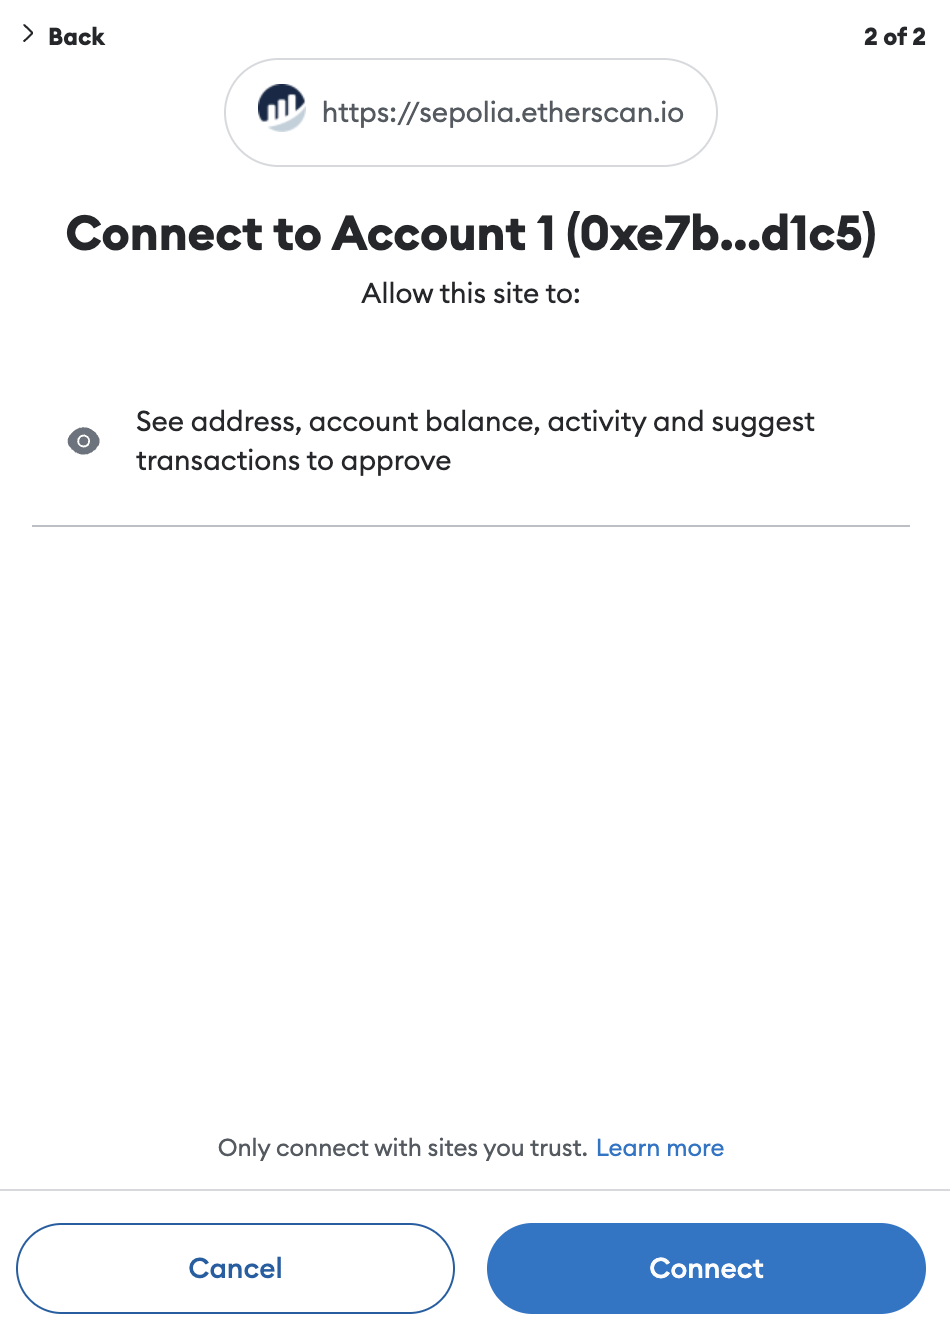
Click Connect to connect your wallet to Etherscan.
-
Refresh the page, click Connect again, select MetaMask, and then proceed after seeing the following message.

- Note: Etherscan doesn’t have the best user experience when it comes to the connection workflow, which is why you may have to refresh after connecting.
-
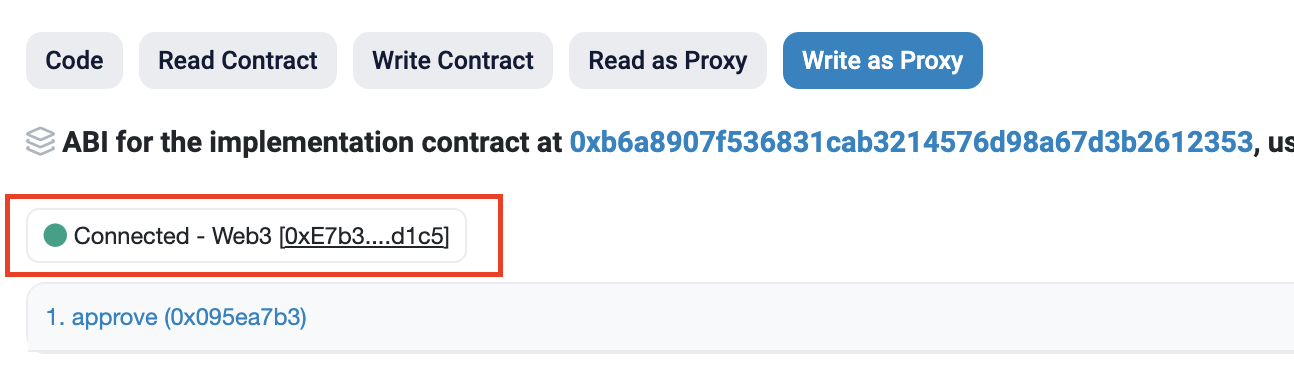
Verify you’re connected to the Sepolia network.
-
Each of the accordions are methods of the Tableland registry smart contract. Scroll down to either
safeTransferFromortransferFrom.- The
tokenIdof a table that you want to make immutable. - Your address (the table's owner) in
from - The address it should be sent
to, which is0x000000000000000000000000000000000000dEaD).
- The
-
Proceed with the wallet flow by clicking Confirm—this will sign the transaction and send it to the blockchain. In other words, by clicking Confirm, you’ve authorized the table can be burned and will send it to the
0x00...deadaddress where no one will ever be able to transfer or alter it thereafter. Only proceed if you wish to lose ownership forever!
-
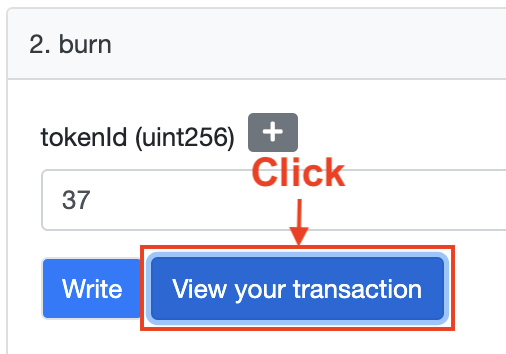
Once the transaction is successful, the table is officially immutable! Click on View your transaction to see the results.